24/7 Locksmith Service
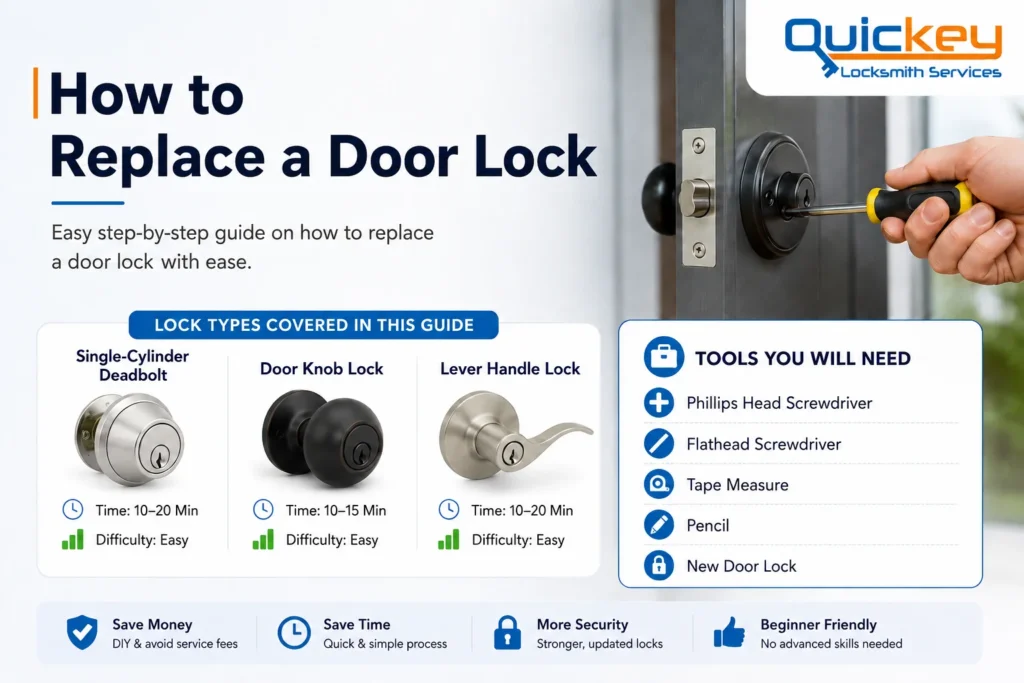
An infographic titled "How to Replace a Door Lock" featuring an easy step-by-step guide on how to replace a door lock with ease by Quickey Locksmith Services. The top right section features a close-up photo of a hand using a yellow and black screwdriver to tighten a screw on a newly installed matte black door handle set. Below the main header, a blue banner reads "LOCK TYPES COVERED IN THIS GUIDE", highlighting three vertical panels with unique lock photos, timings, and easy difficulty ratings:Single-Cylinder Deadbolt: Displays a metallic deadbolt lock with a keyhole, a time rating of 10–20 min, and a green easy difficulty bar.Door Knob Lock: Displays a matte black spherical door knob lock, a time rating of 10–15 min, and a green easy difficulty bar.Lever Handle Lock: Displays a brushed nickel curved lever handle lock, a time rating of 10–20 min, and a green easy difficulty bar.To the right of these columns, a white box titled "TOOLS YOU WILL NEED" lists essential items with custom icons: Phillips Head Screwdriver, Flathead Screwdriver, Tape Measure, Pencil, and a New Door Lock. The very bottom horizontal bar features four custom trust badges with checkmarks and icons: Save Money (DIY & avoid service fees), Save Time (Quick & simple process), More Security (Stronger, updated locks), and Beginner Friendly (No advanced skills needed).

How to Replace a Door Lock

This direct, point-to-point guide covers the exact removal and installation steps for the three most common home locks. Click on your specific hardware below to jump straight to its instructions and get started.

🧭 Quick Navigation

Most door locks can be replaced with a few basic hand tools without the need for an expensive toolkit. Gather the items below before removing the old lock to make the installation process smoother.

You likely will not need the optional tools below, as most door lock replacements can be completed with the basic tools listed .

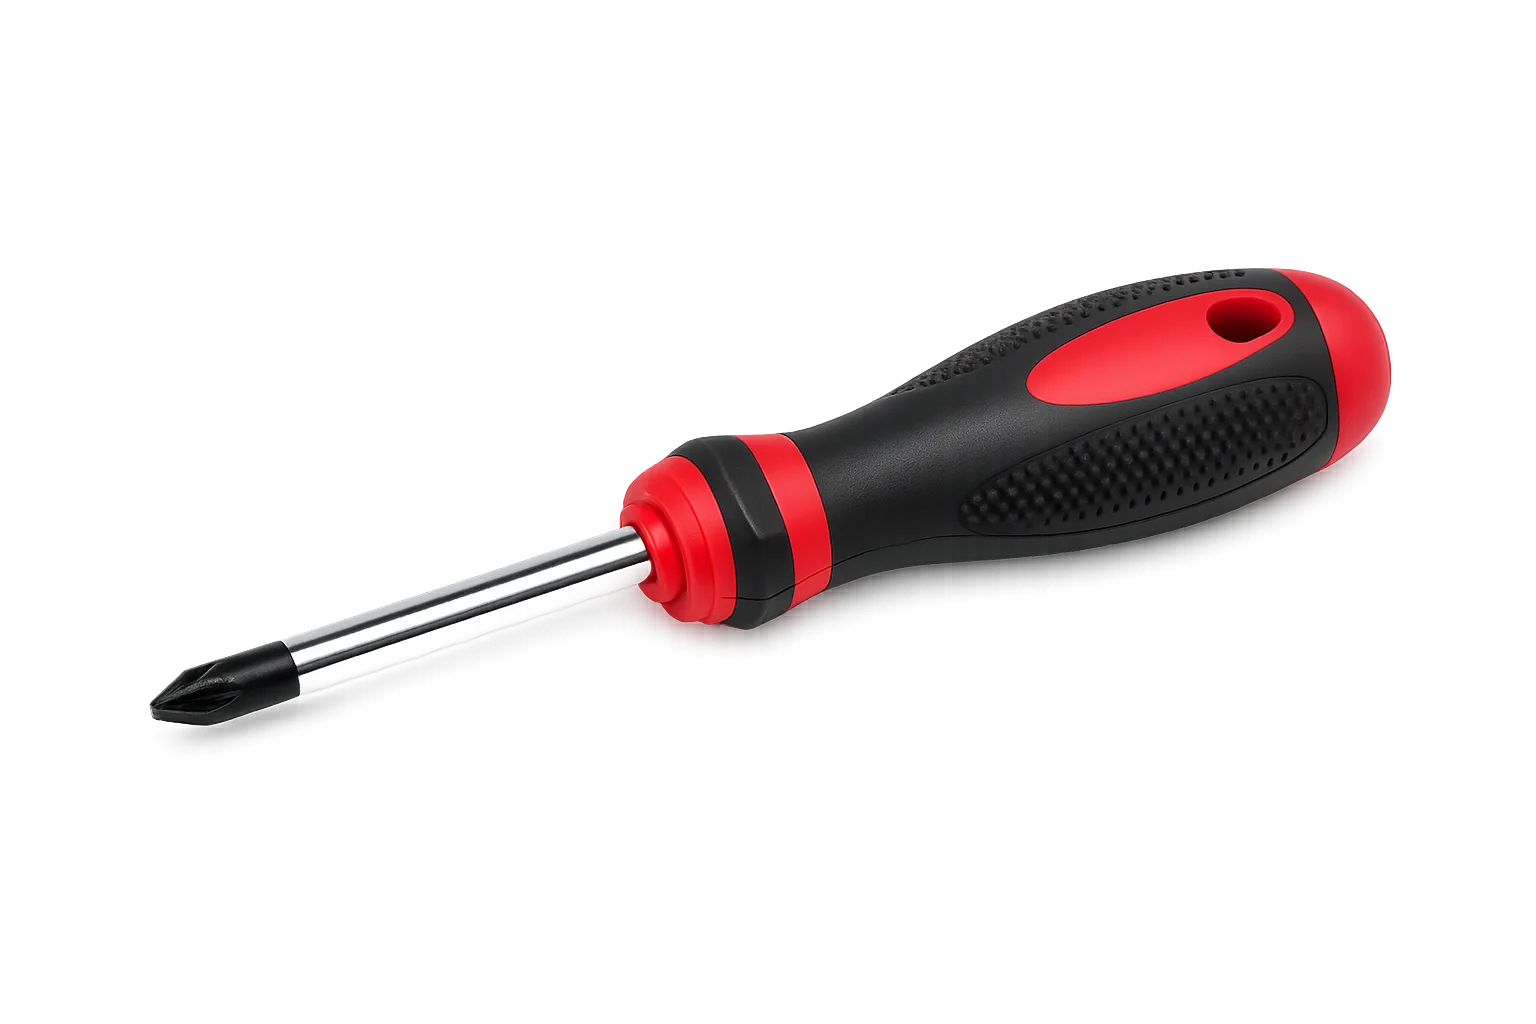
A studio photograph of a professional Phillips head screwdriver isolated on a clean, solid white background. The tool features a thick, ergonomic handle designed with a high-contrast red and black color scheme. The handle is made of black textured rubber with small raised dots for enhanced grip, accented by smooth red plastic sections near the base and cap, including a small hanging hole at the very end. A polished, reflective chrome steel shaft extends horizontally from the red collar, ending in a darkened, magnetic cross-point Phillips tip pointing toward the bottom left corner.

Phillips Head Screwdriver

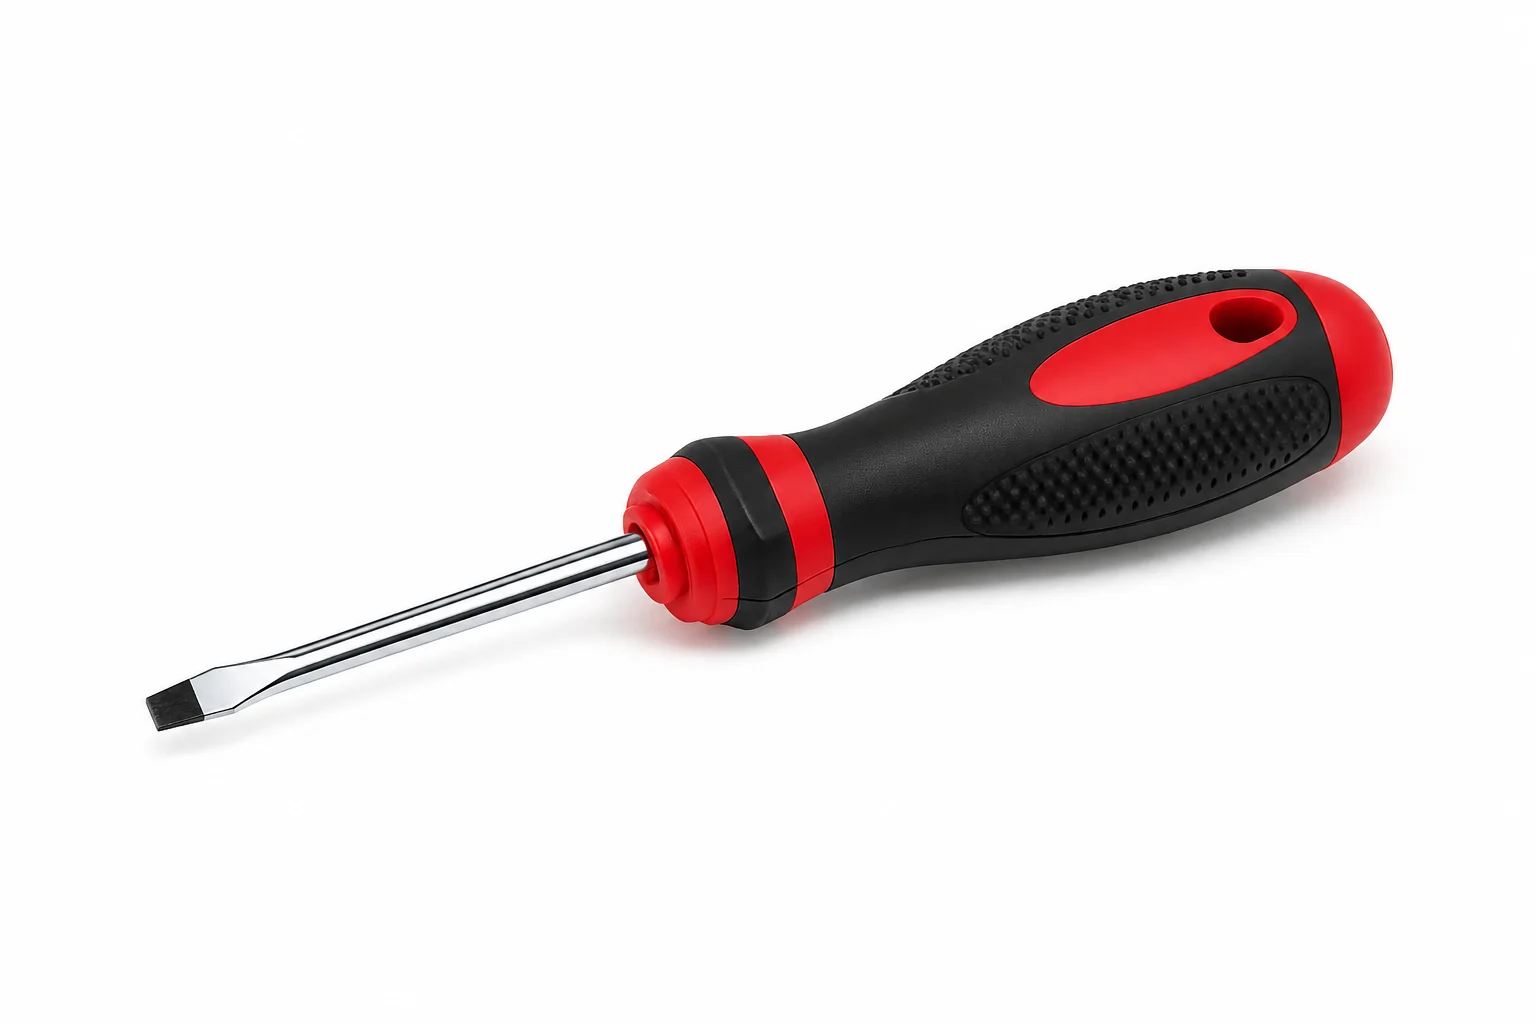
A studio photograph of a professional flathead or slotted screwdriver isolated on a clean, solid white background. The tool features an ergonomic heavy-duty handle with a high-contrast red and black color scheme, perfectly matching the design of a standard locksmith tool kit. The handle is composed of black textured rubber with molded anti-slip bumps for maximum grip control, split by smooth red plastic accent panels near the collar and base, complete with a functional circular hanging hole at the end. A polished, shiny cylindrical chrome steel shank projects horizontally from the red collar, tapering down at the end into a darkened, flat wedge-shaped straight tip pointing toward the lower left corner.

Flathead Screwdriver

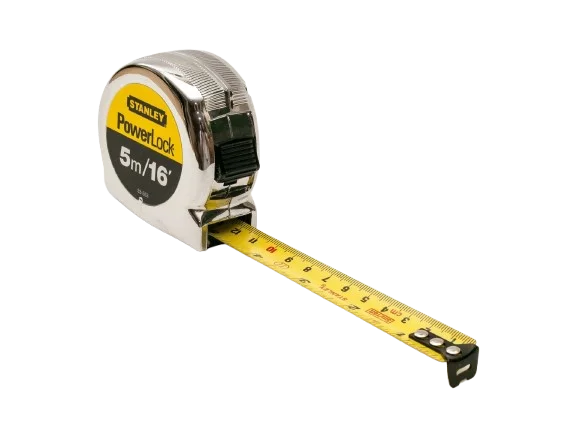
A studio photograph of a classic Stanley PowerLock tape measure isolated on a clean, solid white background. The tool features a durable, rounded metallic chrome-finished plastic housing that reflects light. The side of the casing displays a prominent circular label with a bright yellow top section showing the black "STANLEY" logo and a black bottom section with the silver and yellow text "PowerLock 5m/16'". A black plastic thumb lock switch is positioned on the front edge of the casing. A portion of the flexible yellow metal measuring blade is extended horizontally forward, revealing clear black and red measurement markings in both centimeters and inches. The blade ends with a riveted black metal hook lip pointing toward the bottom right corner.

Tape Measure

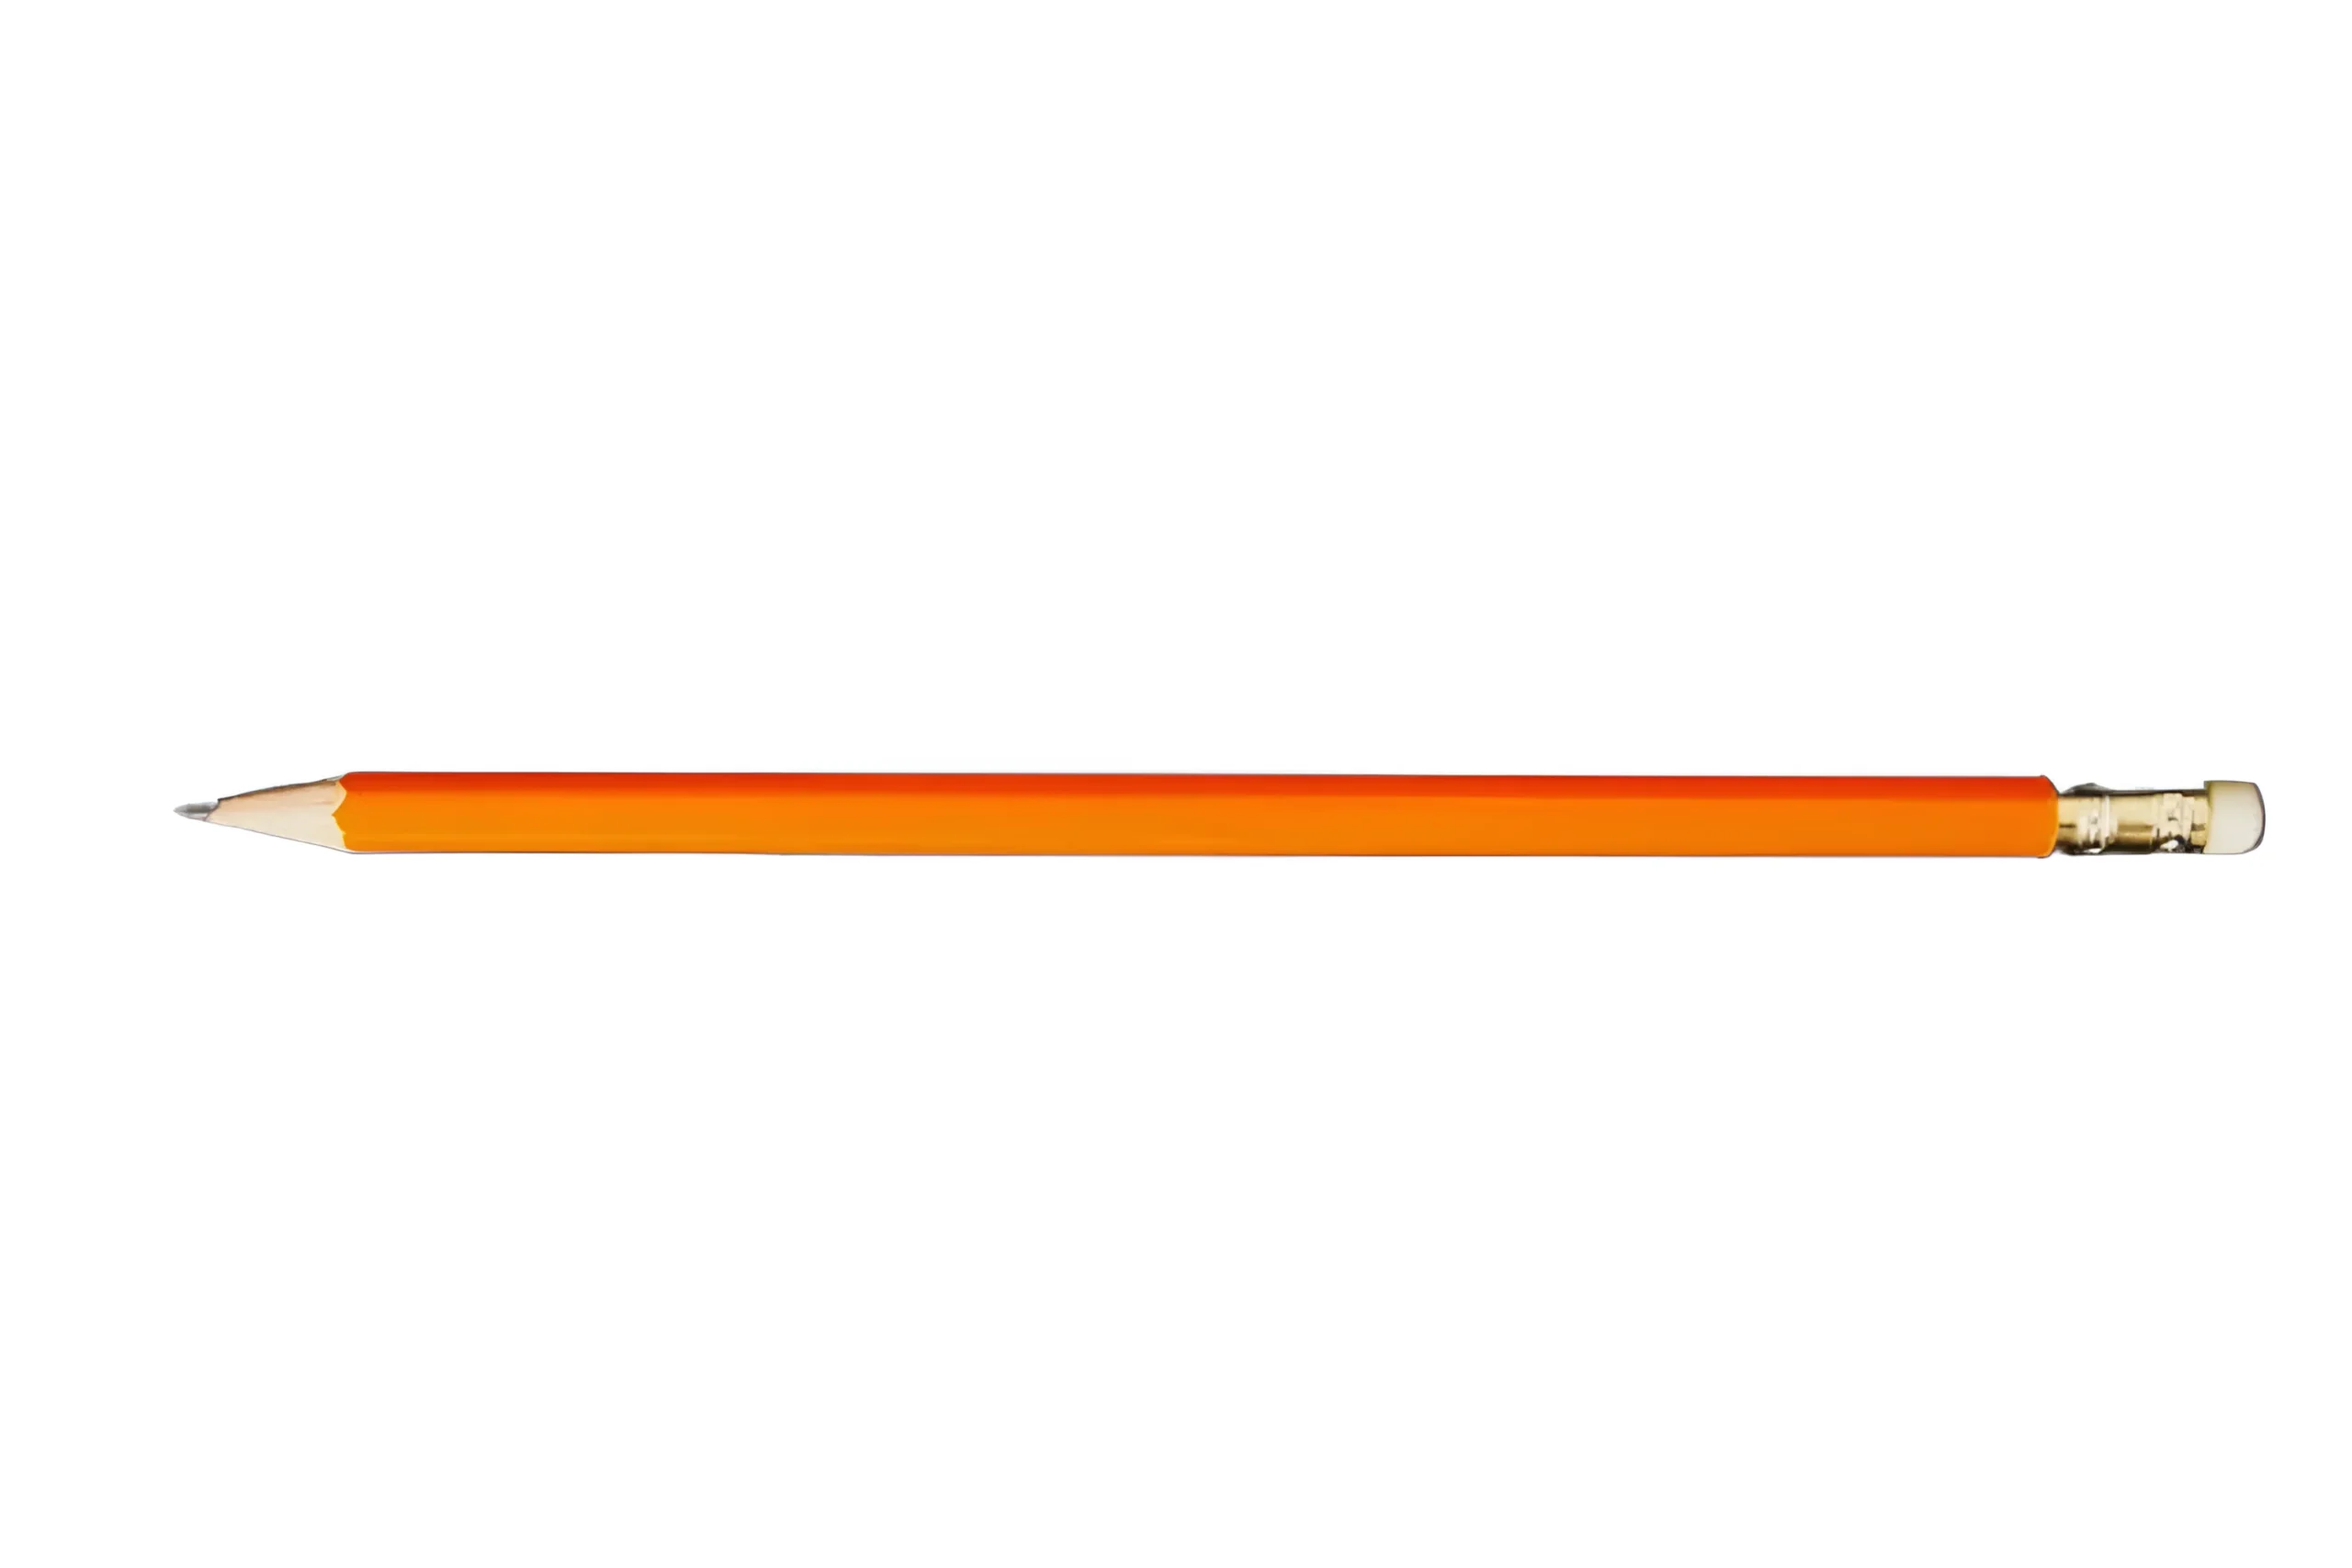
Orange wooden pencil with an eraser isolated on a light gray background

Pencil (Optional)

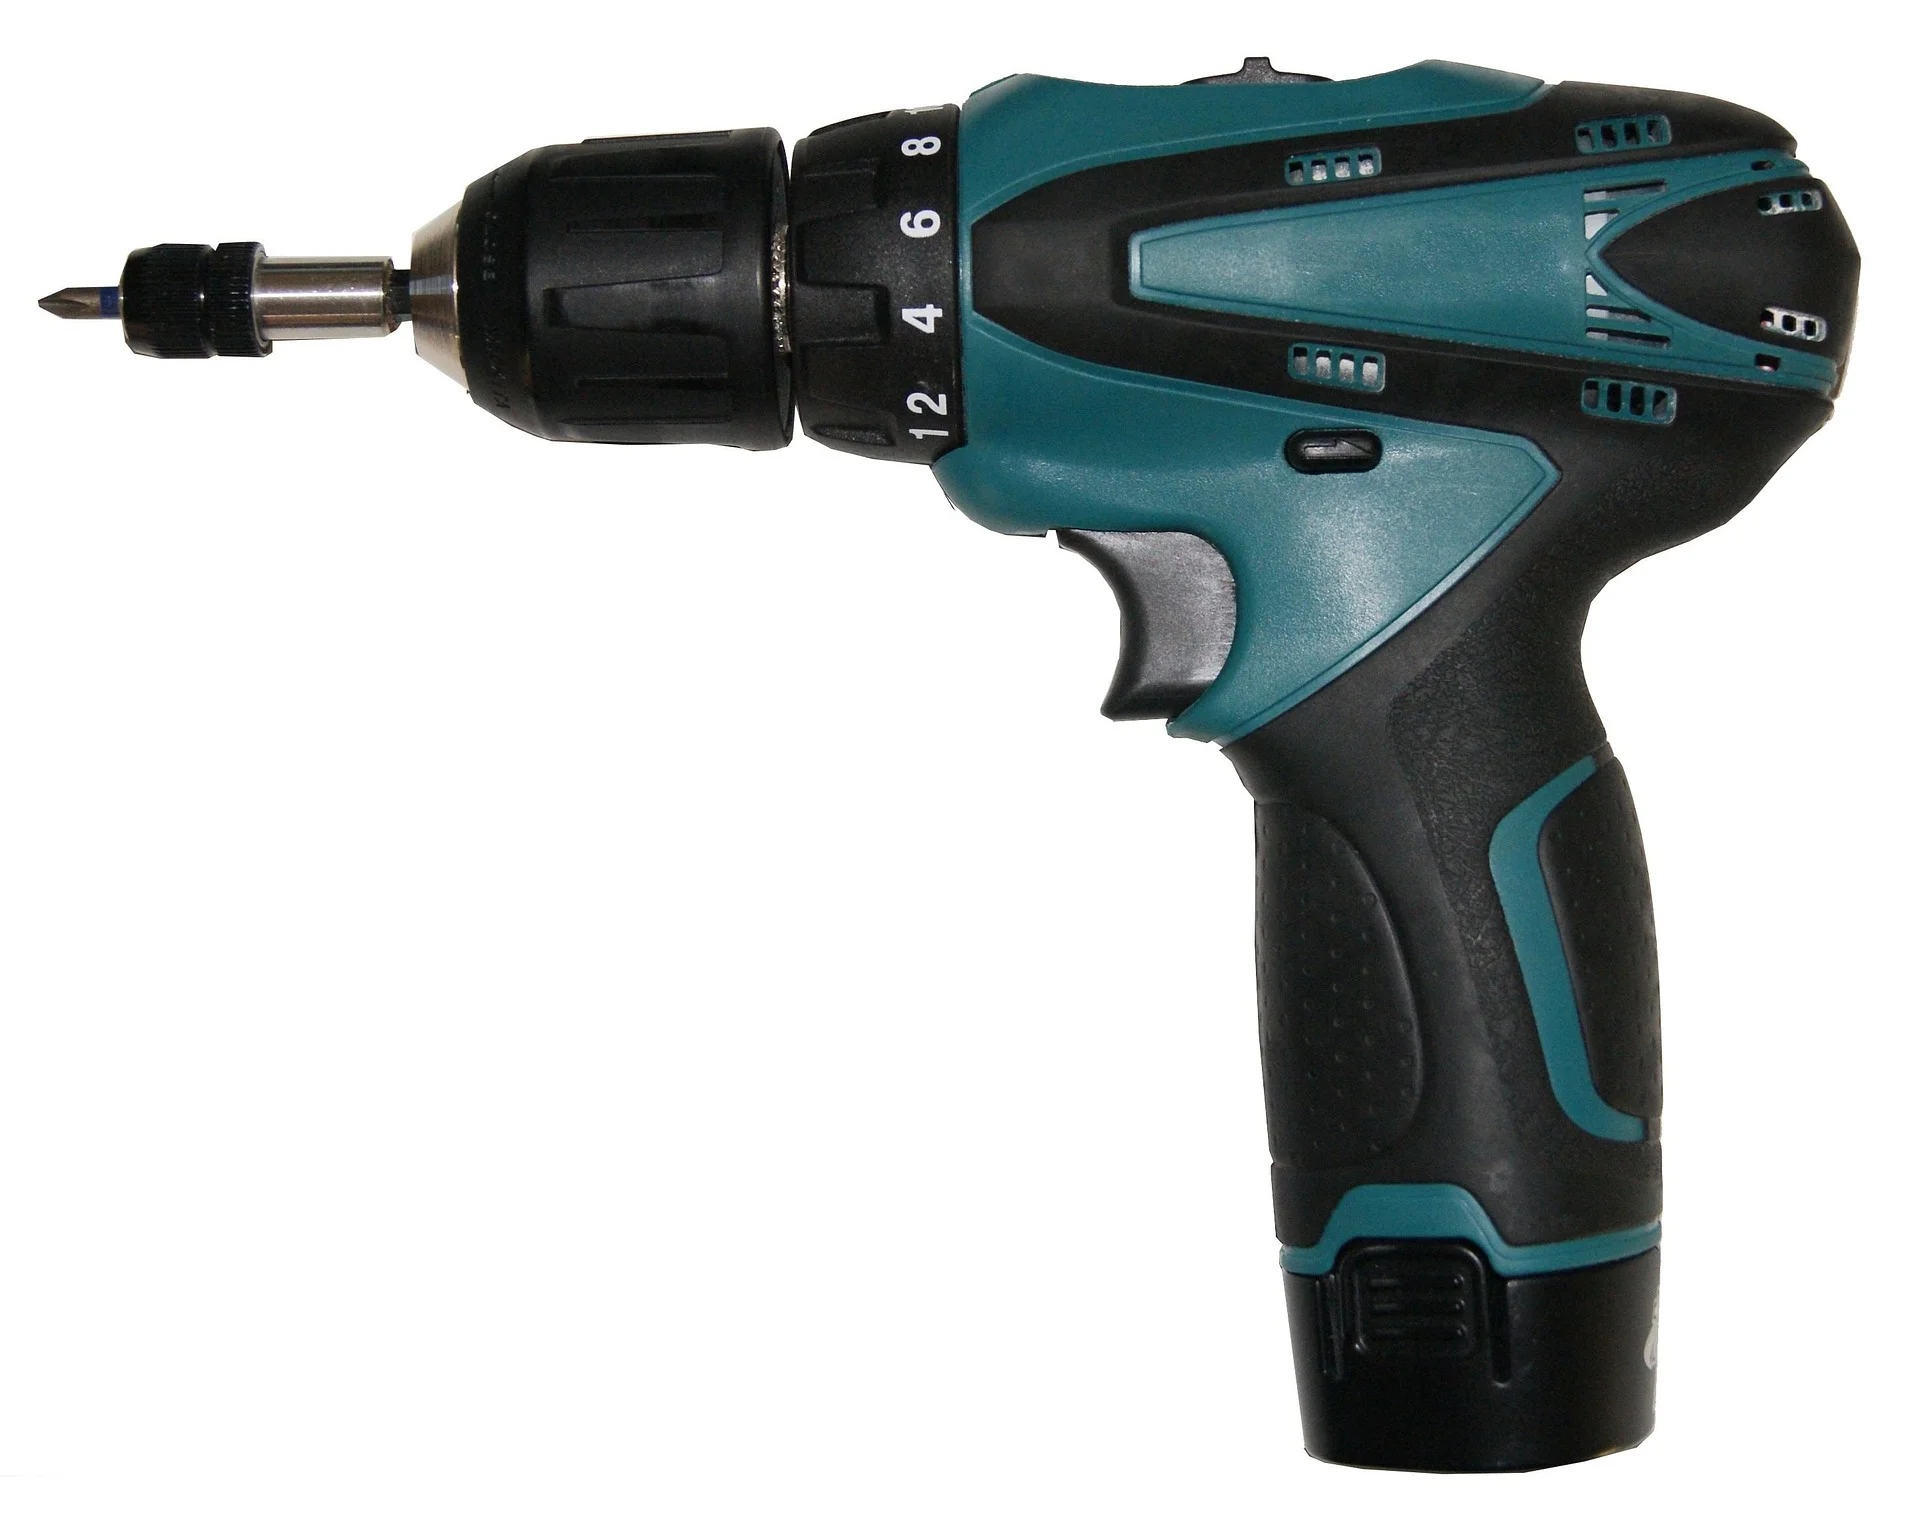
A studio photograph of a cordless power drill isolated on a clean, light gray background. The drill is positioned horizontally with the screwdriver bit pointing toward the left side of the image. It features a modern teal and black plastic body with a textured, ergonomic grip and a slightly curved pistol-style handle. The front of the tool has a black keyless chuck holding a small Phillips screwdriver bit with a metallic silver shaft and a dark tip. Behind the chuck is a black torque adjustment ring displaying large white numbers, including 4, 6, 8, and 12. The main housing combines matte teal panels with black rubberized sections and decorative vent-like details along the top and sides. A small black forward and reverse switch is visible above the trigger area. The base of the handle contains an integrated battery compartment, giving the drill a compact cordless design commonly used for driving screws and light drilling tasks.

Power Drill / Cordless Drill (Optional)

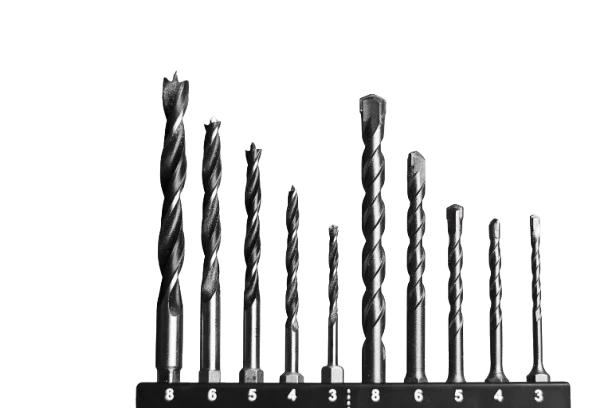
A studio photograph of a drill bits set isolated on a transparent background. The set contains ten metallic drill bits arranged vertically in a black plastic holder. The bits vary in height, creating a stepped appearance from left to right. The first five bits on the left are dark gray wood drill bits with spiral flutes and pointed brad-point tips designed for drilling into wood. The remaining five bits on the right are dark gray masonry drill bits with blunt carbide tips and spiral shafts for drilling into concrete or brick. White numbers printed along the front of the black holder indicate the bit sizes, including 3, 4, 5, 6, and 8. The polished metal surfaces of the drill bits reflect light, giving them a silver-gray appearance against the dark holder.

Drill Bits Set (Optional)

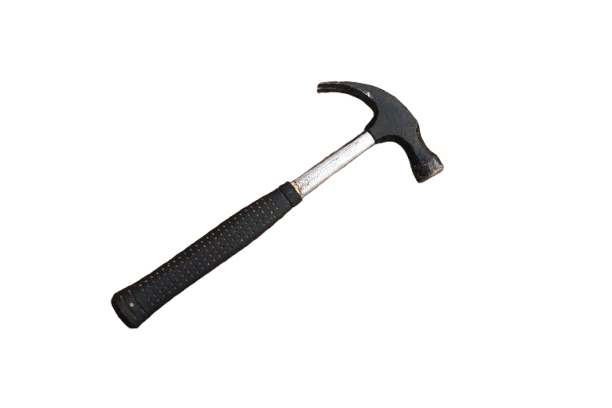
A studio photograph of a claw hammer isolated on a transparent background. The hammer is positioned diagonally, with the handle extending toward the bottom left corner and the metal head pointing toward the upper right corner. It features a black steel head with a smooth striking face on one side and a curved claw on the opposite side for pulling nails. The handle has a silver metallic shaft covered by a long black rubber grip with a textured dotted pattern for improved comfort and slip resistance. The end of the grip slightly flares outward, giving the hammer a balanced and ergonomic design commonly used for driving and removing nails.

Hammer (Optional)

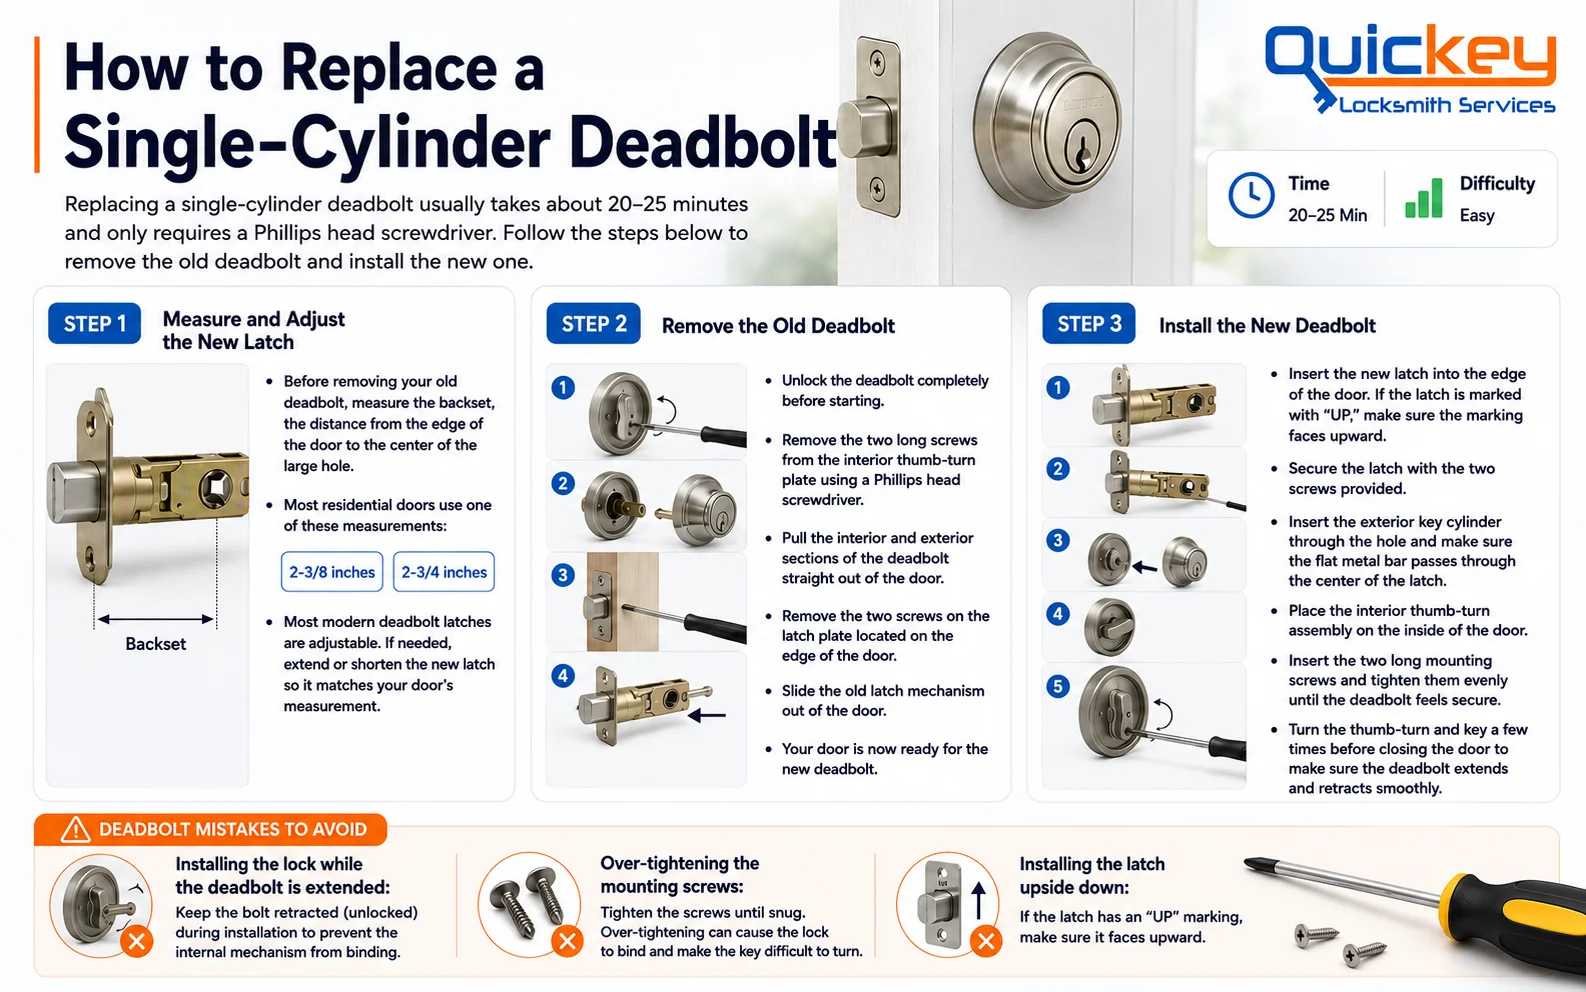
An infographic titled "How to Replace a Single-Cylinder Deadbolt" by Quickey Locksmith Services, detailing a three-step visual guide and installation layout. The header features the main title, a brief summary explaining that the process takes 20–25 minutes using a Phillips head screwdriver, a time badge reading 20-25 Min, an orange difficulty bar labeled Easy, and a close-up photo of a newly installed satin chrome deadbolt. Below the header, the guide is split into three main vertical step blocks and a bottom warning section:STEP 1 is titled "Measure and Adjust the New Latch" featuring a diagram of a brass latch cylinder marked with the "Backset" measurement. The bullet points explain measuring the distance from the edge of the door to the center of the large hole, noting standard residential measurements of 2-3/8 inches and 2-3/4 inches, and explaining how to extend or shorten adjustable modern latches.STEP 2 is titled "Remove the Old Deadbolt" showing a vertical sequence of four small workflow photos demonstrating unscrewing the interior plate, pulling the exterior and interior sections straight out, removing latch plate screws on the door edge, and sliding the old latch mechanism completely out. The instructions details unlocking the deadbolt first, removing the long screws with a Phillips head screwdriver, and preparing the door for the new hardware.STEP 3 is titled "Install the New Deadbolt" showing a vertical sequence of five workflow graphics demonstrating inserting the new latch, securing it with screws, threading the exterior key cylinder metal bar through the latch, placing the interior thumb-turn assembly, and tightening the mounting screws. The instructions guide inserting the latch with the "UP" marking facing upward, securing it, inserting the cylinder bar, placing the thumb-turn, and testing the key operation before closing the door.Below these three main step columns, an orange horizontal banner titled "DEADBOLT MISTAKES TO AVOID" highlights three distinct warning columns with red "X" icons:Installing the lock while the deadbolt is extended: Showing a lock graphic and advising to keep the bolt retracted during installation to prevent internal binding.Over-tightening the mounting screws: Showing loose screws and advising to tighten until snug to prevent binding.Installing the latch upside down: Showing a latch graphic and advising to ensure the "UP" marking faces upward.The bottom right corner features a realistic photo of a yellow and black Phillips screwdriver next to metallic installation screws.

Replacing a single-cylinder deadbolt usually takes about 20–25 minutes and only requires a Phillips head screwdriver. Follow the steps below to remove the old deadbolt and install the new one.

Step 1: Measure and Adjust the New Latch

Before removing your old deadbolt, measure the backset, the distance from the edge of the door to the center of the large hole.

Most residential doors use one of these measurements:

  • 2-3/8 inches
  • 2-3/4 inches

Most modern deadbolt latches are adjustable. If needed, extend or shorten the new latch so it matches your door’s measurement.

Step 2: Remove the Old Deadbolt

Unlock the deadbolt completely before starting.

  1. Remove the two long screws from the interior thumb-turn plate using a Phillips head screwdriver.
  2. Pull the interior and exterior sections of the deadbolt straight out of the door.
  3. Remove the two screws on the latch plate located on the edge of the door.
  4. Slide the old latch mechanism out of the door.

Your door is now ready for the new deadbolt.

Step 3: Install the New Deadbolt

  1. Insert the new latch into the edge of the door. If the latch is marked with “UP,” make sure the marking faces upward.
  2. Secure the latch with the two screws provided.
  3. Insert the exterior key cylinder through the hole and make sure the flat metal bar passes through the center of the latch.
  4. Place the interior thumb-turn assembly on the inside of the door.
  5. Insert the two long mounting screws and tighten them evenly until the deadbolt feels secure.

Turn the thumb-turn and key a few times before closing the door to make sure the deadbolt extends and retracts smoothly.

Deadbolt Mistakes to Avoid

  • Installing the lock while the deadbolt is extended: Keep the bolt retracted (unlocked) during installation to prevent the internal mechanism from binding.
  • Over-tightening the mounting screws: Tighten the screws until snug. Over-tightening can cause the lock to bind and make the key difficult to turn.
  • Installing the latch upside down: If the latch has an “UP” marking, make sure it faces upward.

Lock Stuck or Something Else? Don't force it. Call a professional locksmith. They can help. If you live in Houston or nearby areas, you can reach our licensed team at (832) 478-1754

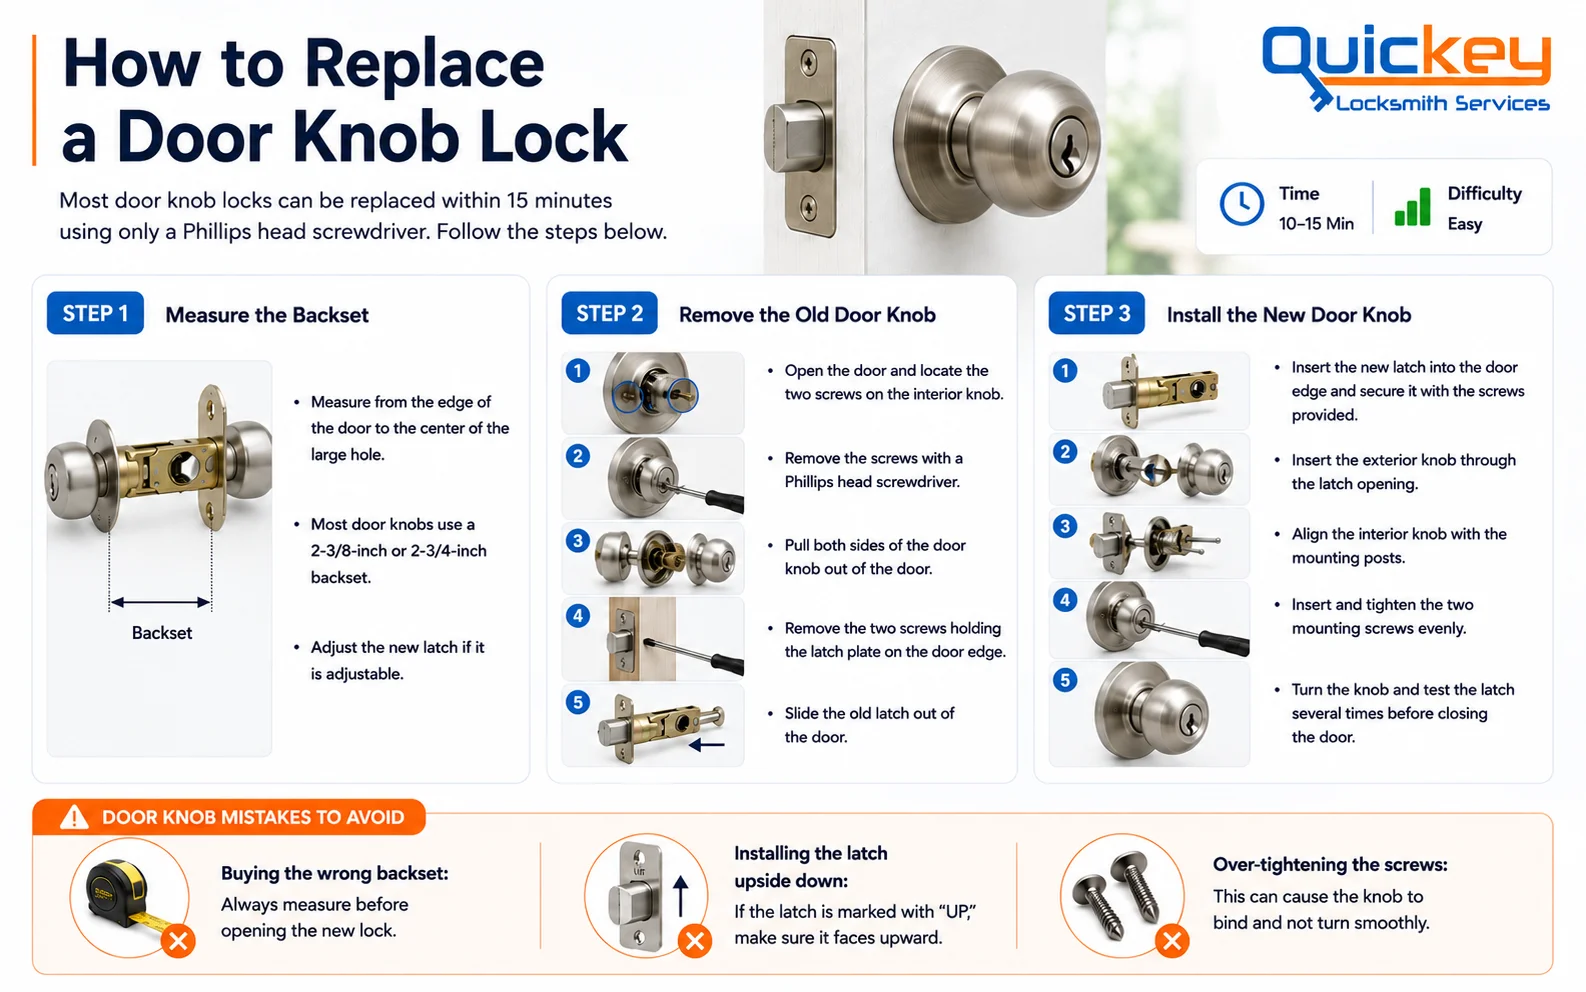
An infographic titled "How to Replace a Door Knob Lock" by Quickey Locksmith Services, detailing a three-step visual guide and layout for a door knob replacement. The header features the main title, a brief summary explaining that most door knob locks can be replaced within 15 minutes using only a Phillips head screwdriver, a blue time badge reading 10-15 Min, a green difficulty bar labeled Easy, and a close-up photo of a newly installed satin nickel door knob lock. Below the header, the guide is split into three main vertical step blocks and a bottom warning section:STEP 1 is titled "Measure the Backset" featuring a technical cross-section diagram of a door knob assembly marked with the "Backset" arrows. The instructions explain measuring from the edge of the door to the center of the large hole, noting that most door knobs use a 2-3/8-inch or 2-3/4-inch backset, and advising to adjust the new latch if it is adjustable.STEP 2 is titled "Remove the Old Door Knob" showing a vertical sequence of five small workflow photos demonstrating opening the door and locating the screws, removing them, pulling both sides of the door knob out, removing the latch plate screws on the door edge, and sliding the old latch assembly out. The text guides opening the door, locating the two screws on the interior knob, removing them with a Phillips head screwdriver, pulling both sides out of the door, removing the two screws holding the latch plate, and sliding the old latch completely out.STEP 3 is titled "Install the New Door Knob" showing a vertical sequence of five workflow graphics demonstrating inserting the new latch, inserting the exterior knob, aligning the interior knob, tightening the mounting screws, and testing the operation. The text details inserting the new latch into the door edge, securing it with screws, inserting the exterior knob through the latch opening, aligning the interior knob with the mounting posts, inserting and tightening the two mounting screws evenly, and turning the knob to test the latch several times before closing the door.Below these three main step columns, an orange horizontal banner titled "DOOR KNOB MISTAKES TO AVOID" highlights three distinct warning columns with red "X" icons:Buying the wrong backset: Showing a tape measure icon and advising to always measure before opening the new lock box.Installing the latch upside down: Showing a latch diagram with an arrow and advising to ensure the "UP" marking faces upward if marked.Over-tightening the screws: Showing two metallic screws and warning that over-tightening can cause the knob to bind and not turn smoothly.

Most door knob locks can be replaced within 15 minutes using only a Phillips head screwdriver. Follow the steps below.

Step 1: Measure the Backset

  • Measure from the edge of the door to the center of the large hole.
  • Most door knobs use a 2-3/8-inch or 2-3/4-inch backset.
  • Adjust the new latch if it is adjustable.

Step 2: Remove the Old Door Knob

  1. Open the door and locate the two screws on the interior knob.
  2. Remove the screws with a Phillips head screwdriver.
  3. Pull both sides of the door knob out of the door.
  4. Remove the two screws holding the latch plate on the door edge.
  5. Slide the old latch out of the door.

Step 3: Install the New Door Knob

  1. Insert the new latch into the door edge and secure it with the screws provided.
  2. Insert the exterior knob through the latch opening.
  3. Align the interior knob with the mounting posts.
  4. Insert and tighten the two mounting screws evenly.
  5. Turn the knob and test the latch several times before closing the door.

Door Knob Mistakes to Avoid

  • Buying the wrong backset: Always measure before opening the new lock.
  • Installing the latch upside down: If the latch is marked with “UP,” make sure it faces upward.
  • Over-tightening the screws: This can cause the knob to bind and not turn smoothly.
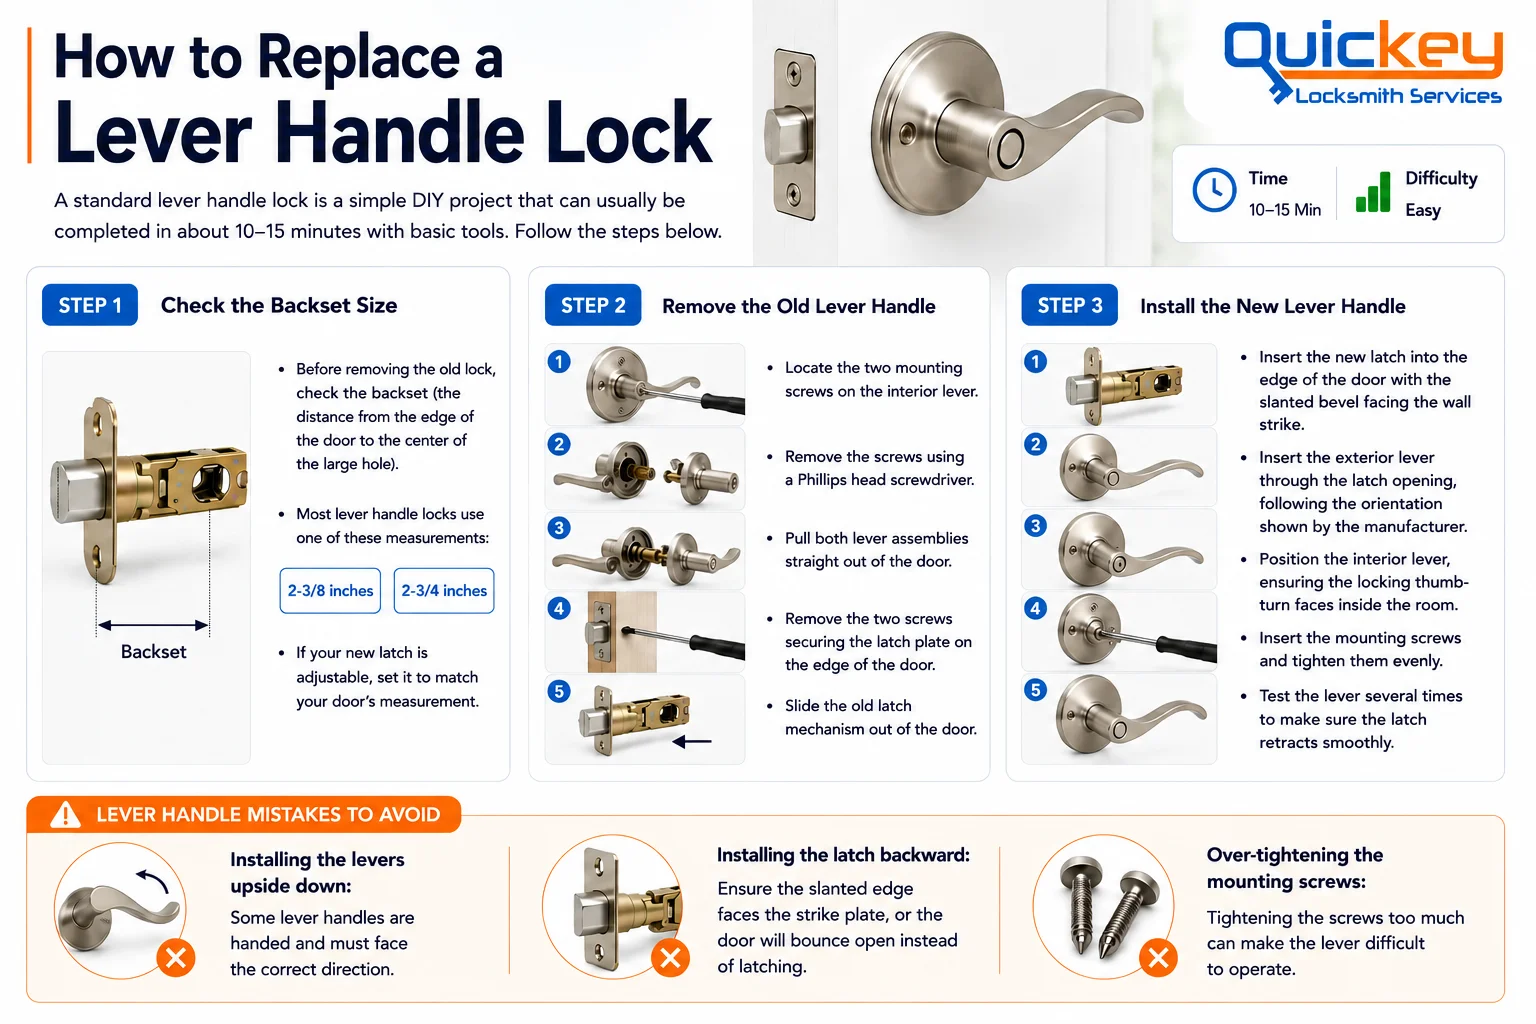
An infographic titled "How to Replace a Lever Handle Lock" by Quickey Locksmith Services, detailing a three-step visual guide and installation layout for a lever handle lock. The header features the main title, a brief summary explaining that a standard lever handle lock is a simple DIY project that can usually be completed in about 10–15 minutes with basic tools, a blue time badge reading 10-15 Min, a green difficulty bar labeled Easy, and a close-up photo of a newly installed satin nickel lever handle lock on a white door. Below the header, the guide is split into three main vertical step blocks and a bottom warning section:STEP 1 is titled "Check the Backset Size" featuring a technical cross-section diagram of a brass lever latch assembly marked with the "Backset" arrows. The instructions explain measuring the distance from the edge of the door to the center of the large hole before removing the old lock, noting standard measurements of 2-3/8 inches and 2-3/4 inches, and advising to set the new adjustable latch to match your door's measurement.STEP 2 is titled "Remove the Old Lever Handle" showing a vertical sequence of five small workflow photos demonstrating locating the interior screws, unscrewing them, pulling both handles straight out, removing the latch plate screws, and sliding the old latch mechanism out. The text guides locating the two mounting screws on the interior lever, removing them using a Phillips head screwdriver, pulling both lever assemblies straight out of the door, removing the two screws securing the latch plate on the edge of the door, and sliding the old latch mechanism out of the door.STEP 3 is titled "Install the New Lever Handle" showing a vertical sequence of five workflow graphics demonstrating inserting the new latch with the bevel facing the strike, inserting the exterior lever, positioning the interior lever with the thumb-turn inside, tightening the mounting screws, and testing operation. The text details inserting the new latch into the edge of the door with the slanted bevel facing the wall strike, inserting the exterior lever through the latch opening following the manufacturer's orientation, positioning the interior lever ensuring the locking thumb-turn faces inside the room, inserting the mounting screws to tighten them evenly, and testing the lever several times to make sure the latch retracts smoothly.Below these three main step columns, an orange horizontal banner titled "LEVER HANDLE MISTAKES TO AVOID" highlights three distinct warning columns with red "X" icons:Installing the levers upside down: Showing a curved lever handle diagram with orientation arrows and warning that some lever handles are handed and must face the correct direction.Installing the latch backward: Showing a latch mechanism diagram and warning to ensure the slanted edge faces the strike plate, or the door will bounce open instead of latching.Over-tightening the mounting screws: Showing two metallic screws and warning that tightening the screws too much can make the lever difficult to operate.

A standard lever handle lock is a simple DIY project that can usually be completed in about 10–15 minutes with basic tools. Follow the steps below.

Step 1: Check the Backset Size

Before removing the old lock, measure the backset (the distance from the edge of the door to the center of the large hole).


Most lever handle locks use one of these measurements:

  • 2-3/8 inches
  • 2-3/4 inches

If your new latch is adjustable, set it to match your door’s measurement.

Step 2: Remove the Old Lever Handle

  1. Locate the two mounting screws on the interior lever.
  2. Remove the screws using a Phillips head screwdriver.
  3. Pull both lever assemblies straight out of the door.
  4. Remove the two screws securing the latch plate on the edge of the door.
  5. Slide the old latch mechanism out of the door.

Step 3: Install the New Lever Handle

  1. Insert the new latch into the edge of the door with the slanted bevel facing the wall strike.
  2. Insert the exterior lever through the latch opening, following the orientation shown by the manufacturer.
  3. Position the interior lever, ensuring the locking thumb-turn faces inside the room.
  4. Insert the mounting screws and tighten them evenly.
  5. Test the lever several times to make sure the latch retracts smoothly.

Lever Handle Mistakes to Avoid

  • Installing the levers upside down: Some lever handles are handed and must face the correct direction.

  • Installing the latch backward: Ensure the slanted edge faces the strike plate, or the door will bounce open instead of latching.
  • Over-tightening the mounting screws: Tightening the screws too much can make the lever difficult to operate.

Yes. Most standard door locks can be replaced without professional help using basic tools. Depending on the lock type, most homeowners can complete the job in about 10–20 minutes.

 

Yes, absolutely. You don’t need to remove the door from its hinges to replace a door lock. Standard deadbolts, door knobs, and lever handle locks can usually be replaced while the door remains in place

Yes. Changing a standard door lock is considered an easy DIY project for most homeowners and usually only requires a few basic tools. minutes.

Most standard door locks take about 10–20 minutes to change, depending on the lock type. Door knob and lever handle locks are usually quicker, while single-cylinder deadbolts may take a little longer.

Not always. In most cases, rekeying the existing locks is enough if the hardware is in good condition.